Your WordPress Site Got Hacked — Here's Exactly What to Do (And What Not to Touch)
WordPress site hacked? Don't delete anything yet. Follow this exact recovery sequence to clean your site and prevent it happening again.
A step-by-step recovery guide for business owners who need their site back — without making the damage worse.
By Sheikh Hassaan — Web developer for service businesses
Quick Answer
If your WordPress site has been hacked: do not delete files. Put the site in maintenance mode, change all passwords, scan with Wordfence or Sucuri to identify the infection, remove malicious files, check for unknown admin users, update all plugins and themes, then request a Google review if your domain was blacklisted. Work in that sequence — order matters.
What a Hacked WordPress Site Actually Costs a Business
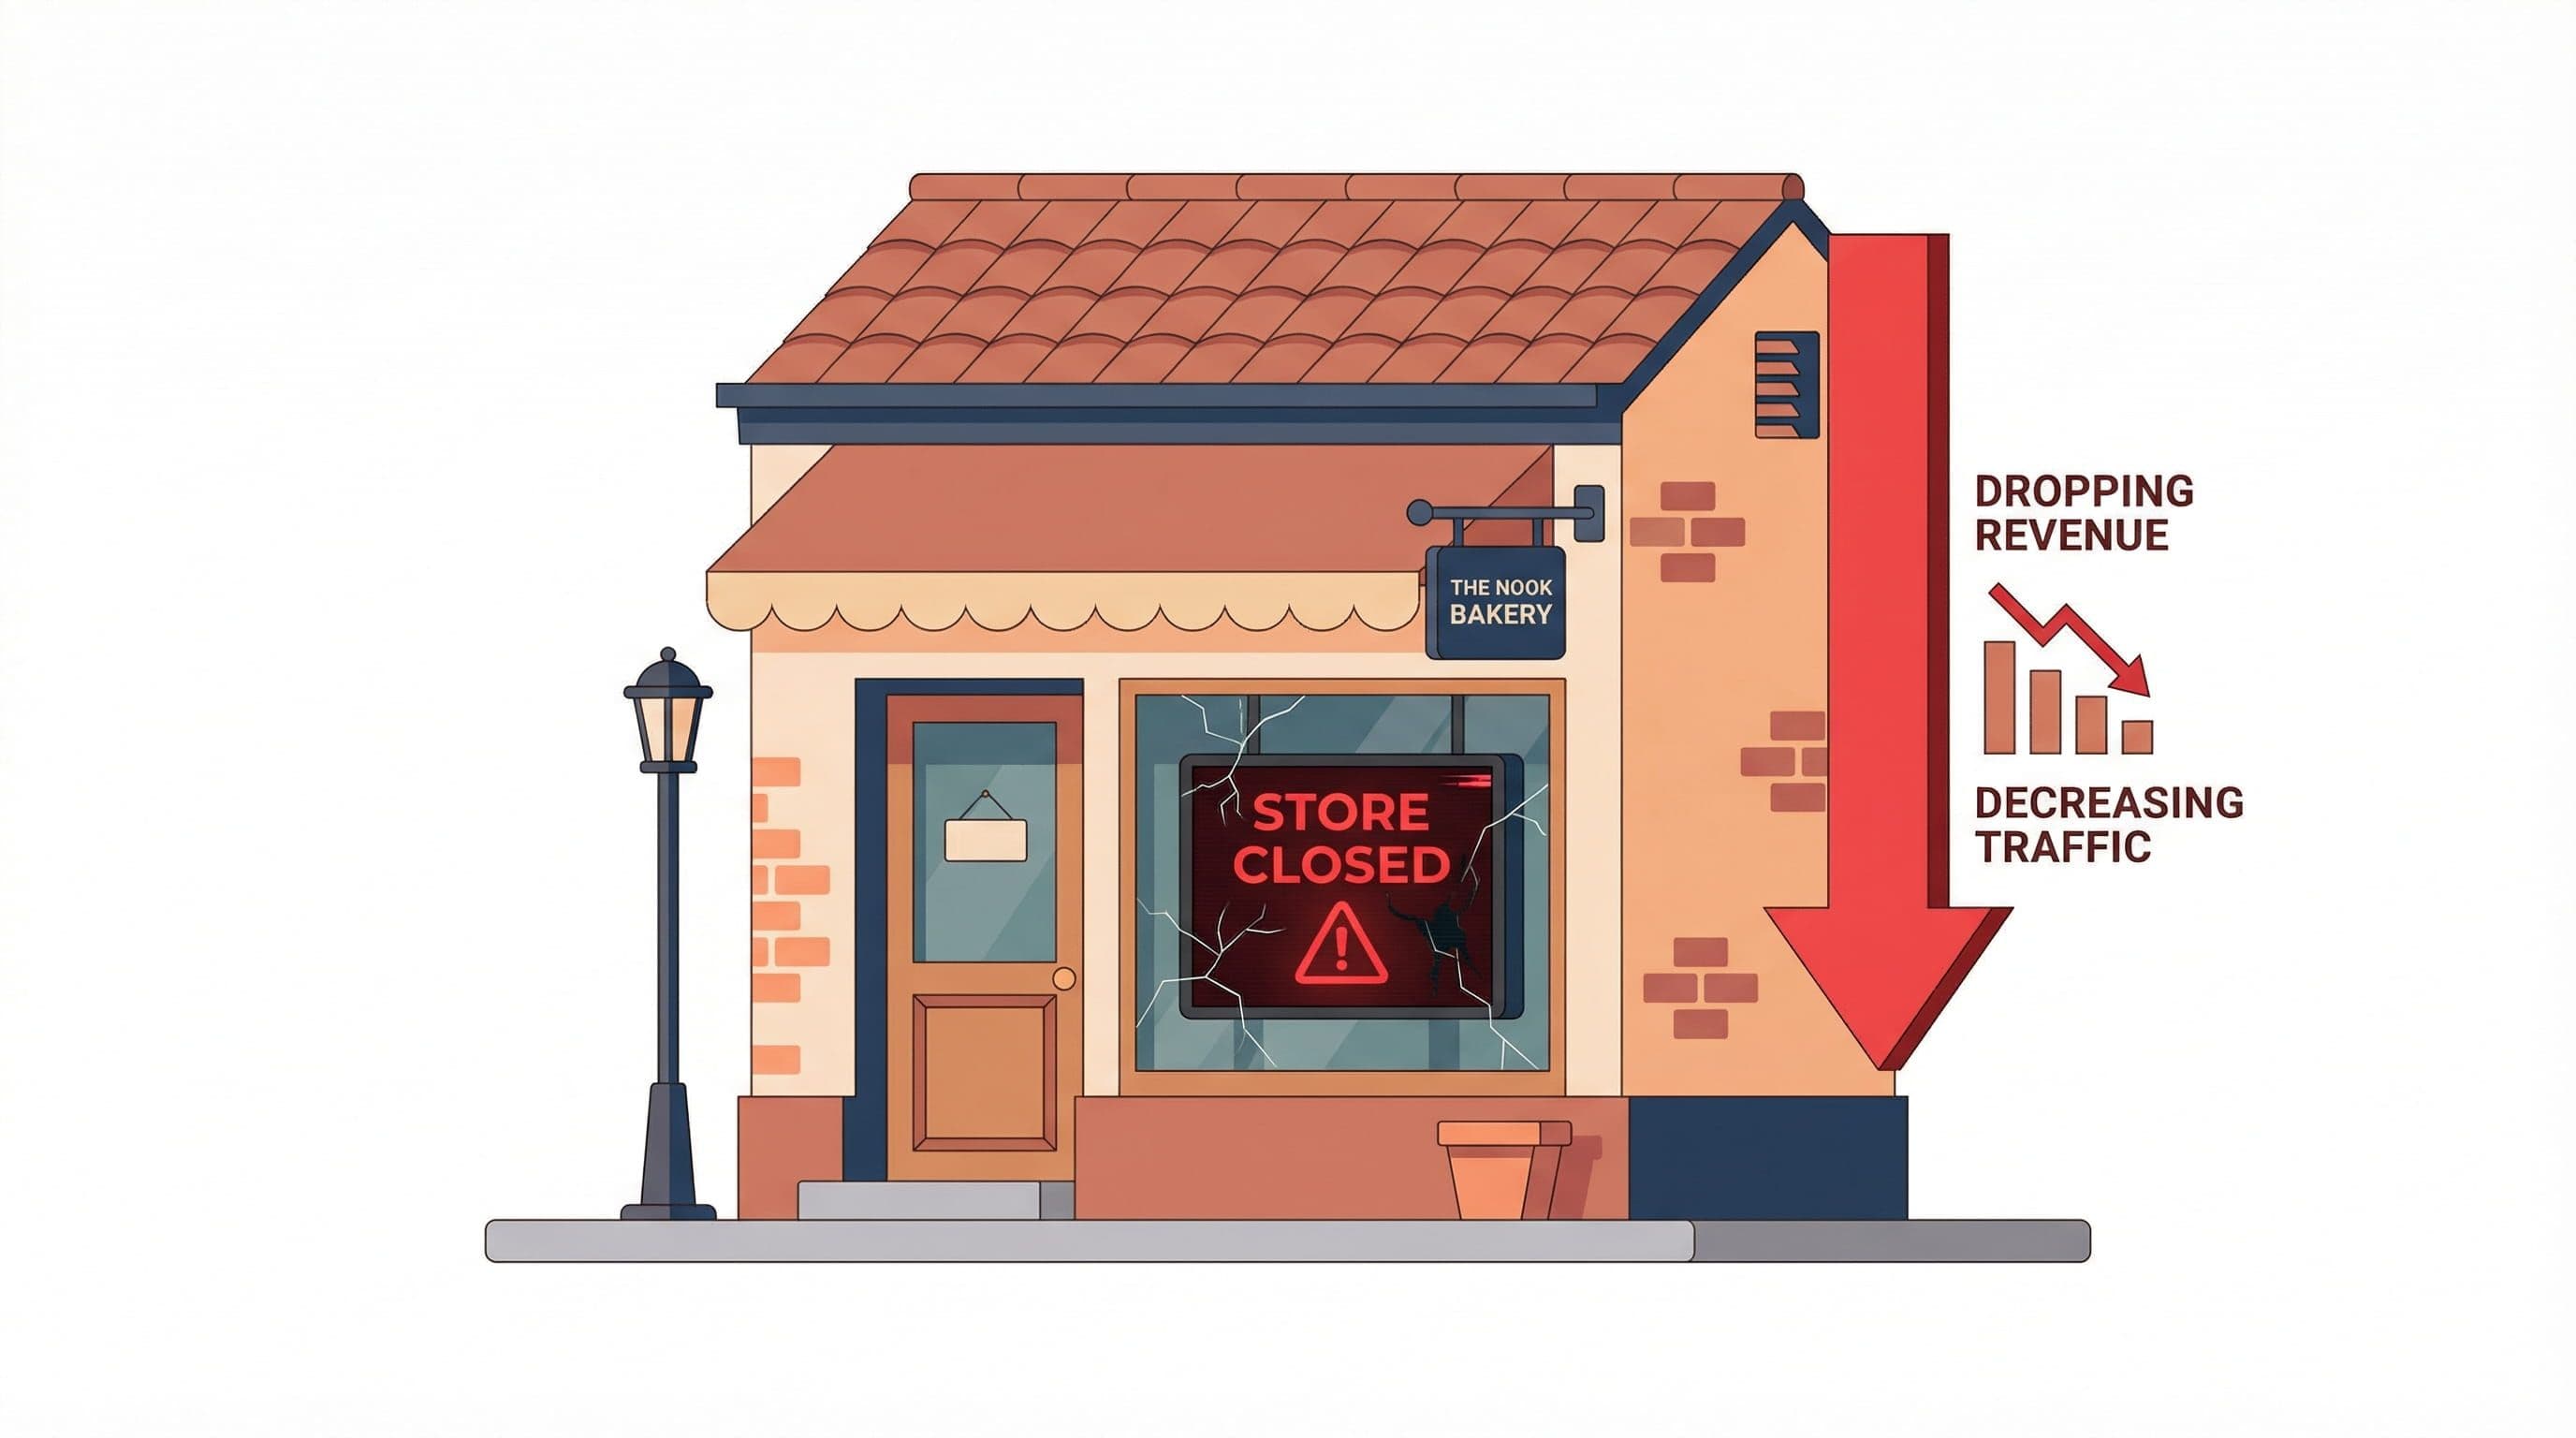
Before getting into the recovery steps, it's worth being clear about what is actually at stake — because most business owners underestimate it until they are in the middle of it.
A hacked website is not just a technical problem. It is a business continuity problem.
- Every hour your site redirects visitors to spam, you are losing leads to a competitor whose site works
- Google's malware blacklist can remove your domain from search results within 24 hours of detecting an infection — and reinstatement takes days even after the site is clean
- Your email domain can be flagged as a spam sender if the hack involves email injection, affecting every message you send to clients
- If you store customer inquiry data, a breach creates potential liability depending on your region's data protection requirements
- Hosting providers suspend accounts when they detect active malware — meaning your site goes offline entirely while you wait for support
The cost is not just the cleanup. It is the leads that didn't come in, the clients who saw an error page, and the search rankings that take weeks to recover after a blacklist removal.
The steps below are ordered specifically to limit that damage while the recovery is in progress.
How to Confirm Your Site Has Actually Been Hacked
Before starting the recovery process, confirm the nature of the problem. Not every site issue is a hack — a failed plugin update or hosting outage can produce similar symptoms. Treating the wrong problem wastes time.
Visible Signs
- Your homepage redirects to an unfamiliar website — often pharmacy, gambling, or adult content
- Your browser shows a red warning screen reading 'Deceptive site ahead' or 'This site may be hacked'
- Visitors report seeing content that doesn't match what you published
- Your Google Search Console account shows a security issue notification
- Pages are appearing in search results with content you didn't write — often in foreign languages
Hidden Signs
- Your hosting provider suspended the account citing malware or policy violations
- Wordfence or another security plugin sent a critical alert about modified core files
- You notice admin accounts in your WordPress dashboard that you didn't create
- Google Search Console shows a spike in pages indexed that you don't recognize
- Your site's page speed dropped suddenly with no explanation
If you see any combination of these, treat it as a confirmed compromise and start the recovery sequence.
The Recovery Sequence — Step by Step

Step 1 — Don't Panic, Don't Delete Anything
What to do: Stop. Before touching any files, before reinstalling WordPress, before deleting anything — stop. Read this guide in full first.
Why it matters: The most common mistake business owners make immediately after discovering a hack is deleting infected files manually or reinstalling WordPress from scratch without backing up the current state. This destroys the evidence that security tools need to identify the full scope of the infection. A partial cleanup that misses one backdoor file means the site gets reinfected within days.
Pro Insight:
Take a screenshot of everything unusual you see — the redirect, the warning message, the suspicious pages in Google. This documentation matters if you need to involve your hosting provider or submit a Google review request.
Step 2 — Put the Site in Maintenance Mode
What to do: If you can still access the WordPress dashboard, install and activate a maintenance mode plugin — Coming Soon Page & Maintenance Mode by SeedProd works for this. Display a simple message to visitors while you work. If you cannot access the dashboard, contact your hosting provider and ask them to temporarily suspend public access while you resolve a security incident.
Why it matters: Every minute your compromised site is publicly accessible, it is actively damaging your business reputation and potentially spreading malware to visitors. Maintenance mode stops that while keeping the site technically live for your recovery work.
Pro Insight:
Do not put up a message that says 'We've been hacked.' Use a neutral maintenance message: 'We're performing scheduled maintenance. Back shortly.' Visitors don't need to know the specifics — and neither do search engine crawlers.
Step 3 — Change All Passwords Immediately
What to do: Change every password connected to the site in this order:
- WordPress admin account passwords — all of them
- Hosting control panel password (cPanel, MyKinsta, WP Engine dashboard)
- FTP/SFTP account passwords
- Database password (update wp-config.php to match)
- Email accounts associated with the WordPress admin addresses
Why it matters: The attacker may still have active credentials. If you clean the infection without changing passwords, they can log back in and reinfect within hours. Credentials first — then cleanup.
Pro Insight:
Generate new passwords using a password manager — 20+ characters, random. Do not reuse passwords from any other account. A reused password is how many sites get compromised in the first place — a data breach on one platform exposes credentials used elsewhere.
Step 4 — Scan With Wordfence or Sucuri
What to do: If Wordfence is not already installed, install and activate it now. Go to Wordfence > Scan and run a complete scan. Review every result carefully. For a second opinion — especially if Wordfence finds nothing but the symptoms are clear — run your URL through Sucuri SiteCheck (free, web-based, no install required) and Google Safe Browsing.
Why it matters: The scanner identifies modified files, known malware signatures, backdoors, and injected code. This tells you the scope of the infection — whether it is one compromised file or a widespread attack across your entire installation.
Pro Insight:
Pay close attention to any files flagged in the wp-content/uploads directory. Attackers commonly inject PHP files disguised as images in the uploads folder because most security configurations don't execute PHP from that directory — but a misconfigured server will. Flag these files specifically for removal.
Step 5 — Remove Malicious Files and Code
What to do: For each file Wordfence flags, you have two options. If it is a WordPress core file that has been modified, use Wordfence's 'Repair' option to restore it to the clean version from the WordPress repository. If it is a file that should not exist at all — a PHP file in the uploads folder, an unknown script in the theme directory — delete it.
For injected code inside legitimate files (malicious JavaScript injected into a theme's functions.php, for example), open the file in your hosting file manager or an FTP client, locate the injected code — it typically looks like heavily obfuscated, encoded strings beginning with 'eval(' or 'base64_decode(' — and remove it carefully, preserving the legitimate code around it.
Why it matters: Leaving any infected file behind, even one, creates a reinfection risk. Attackers leave multiple backdoors precisely because they expect partial cleanup.
Pro Insight:
If you are not comfortable editing PHP files directly, restore your site from the most recent clean backup instead. This is faster and safer than manual file-by-file cleanup for non-technical owners. You lose any content added since the backup date, but you regain a clean installation immediately.
Step 6 — Check and Clean the Database
What to do: Some attacks inject malicious content into the WordPress database — spam links in post content, redirects in the options table, or backdoor admin accounts stored in the users table. Log into phpMyAdmin through your hosting control panel. Run a search across all tables for suspicious patterns: 'eval(', 'base64_decode', '<script', and any domains you don't recognize.
Why it matters: File-level cleanup without database cleanup misses a common attack vector. Many redirect infections live entirely in the database — specifically in the wp_options table — and are invisible in file scans.
Pro Insight:
Before touching the database, export a full backup through phpMyAdmin. If you accidentally delete a legitimate row, you need to be able to restore it. The database export takes 30 seconds and is a mandatory step before any manual database work.
Step 7 — Remove Unknown Admin Users
What to do: Go to WordPress dashboard > Users. Review every account with Administrator role. Delete any account you do not recognize. If you are unsure whether a user account is legitimate, check the email address associated with it — attackers typically use disposable or randomized email addresses.
Why it matters: Creating a hidden admin account is one of the first things attackers do after gaining access. It is their persistent backdoor — even if you clean every infected file, they can log back in through the admin account and reinfect. Remove unknown users before considering the cleanup complete.
Pro Insight:
Some attacks create admin users that are hidden from the standard Users dashboard using database-level manipulation. If your Wordfence scan flagged suspicious database entries, cross-check your wp_users table directly in phpMyAdmin to confirm no hidden accounts exist.
Step 8 — Update Everything
What to do: Update WordPress core to the latest version. Update every plugin. Update every theme, including ones that are installed but inactive. Delete any plugins or themes you are not actively using — inactive plugins with vulnerabilities are still exploitable even when deactivated.
Why it matters: The vulnerability that allowed the initial attack often still exists if the software that contained it hasn't been updated. Cleaning the infection without patching the entry point means the same attack can be repeated immediately.
Pro Insight:
Delete, don't just deactivate, unused plugins and themes. A deactivated plugin's files still sit on the server. If those files contain a vulnerability, they can still be exploited. Removal is the only complete solution.
Step 9 — Request Google Review if Blacklisted
What to do: If Google flagged your site, log into Google Search Console. Go to Security & Manual Actions > Security Issues. Review the listed issues, confirm they have been resolved, then click Request Review. Google typically processes these within 1 to 3 business days for genuine resolutions.
Why it matters: A site can be fully clean and still show browser warnings to visitors until Google re-crawls and removes the blacklist flag. The review request accelerates that process. Without it, warnings can persist for weeks even after the infection is completely gone.
Pro Insight:
In the review request, be specific about what you found and what you fixed. Google's reviewers process high volume — a clear, detailed description of the steps taken gets faster results than a vague submission.
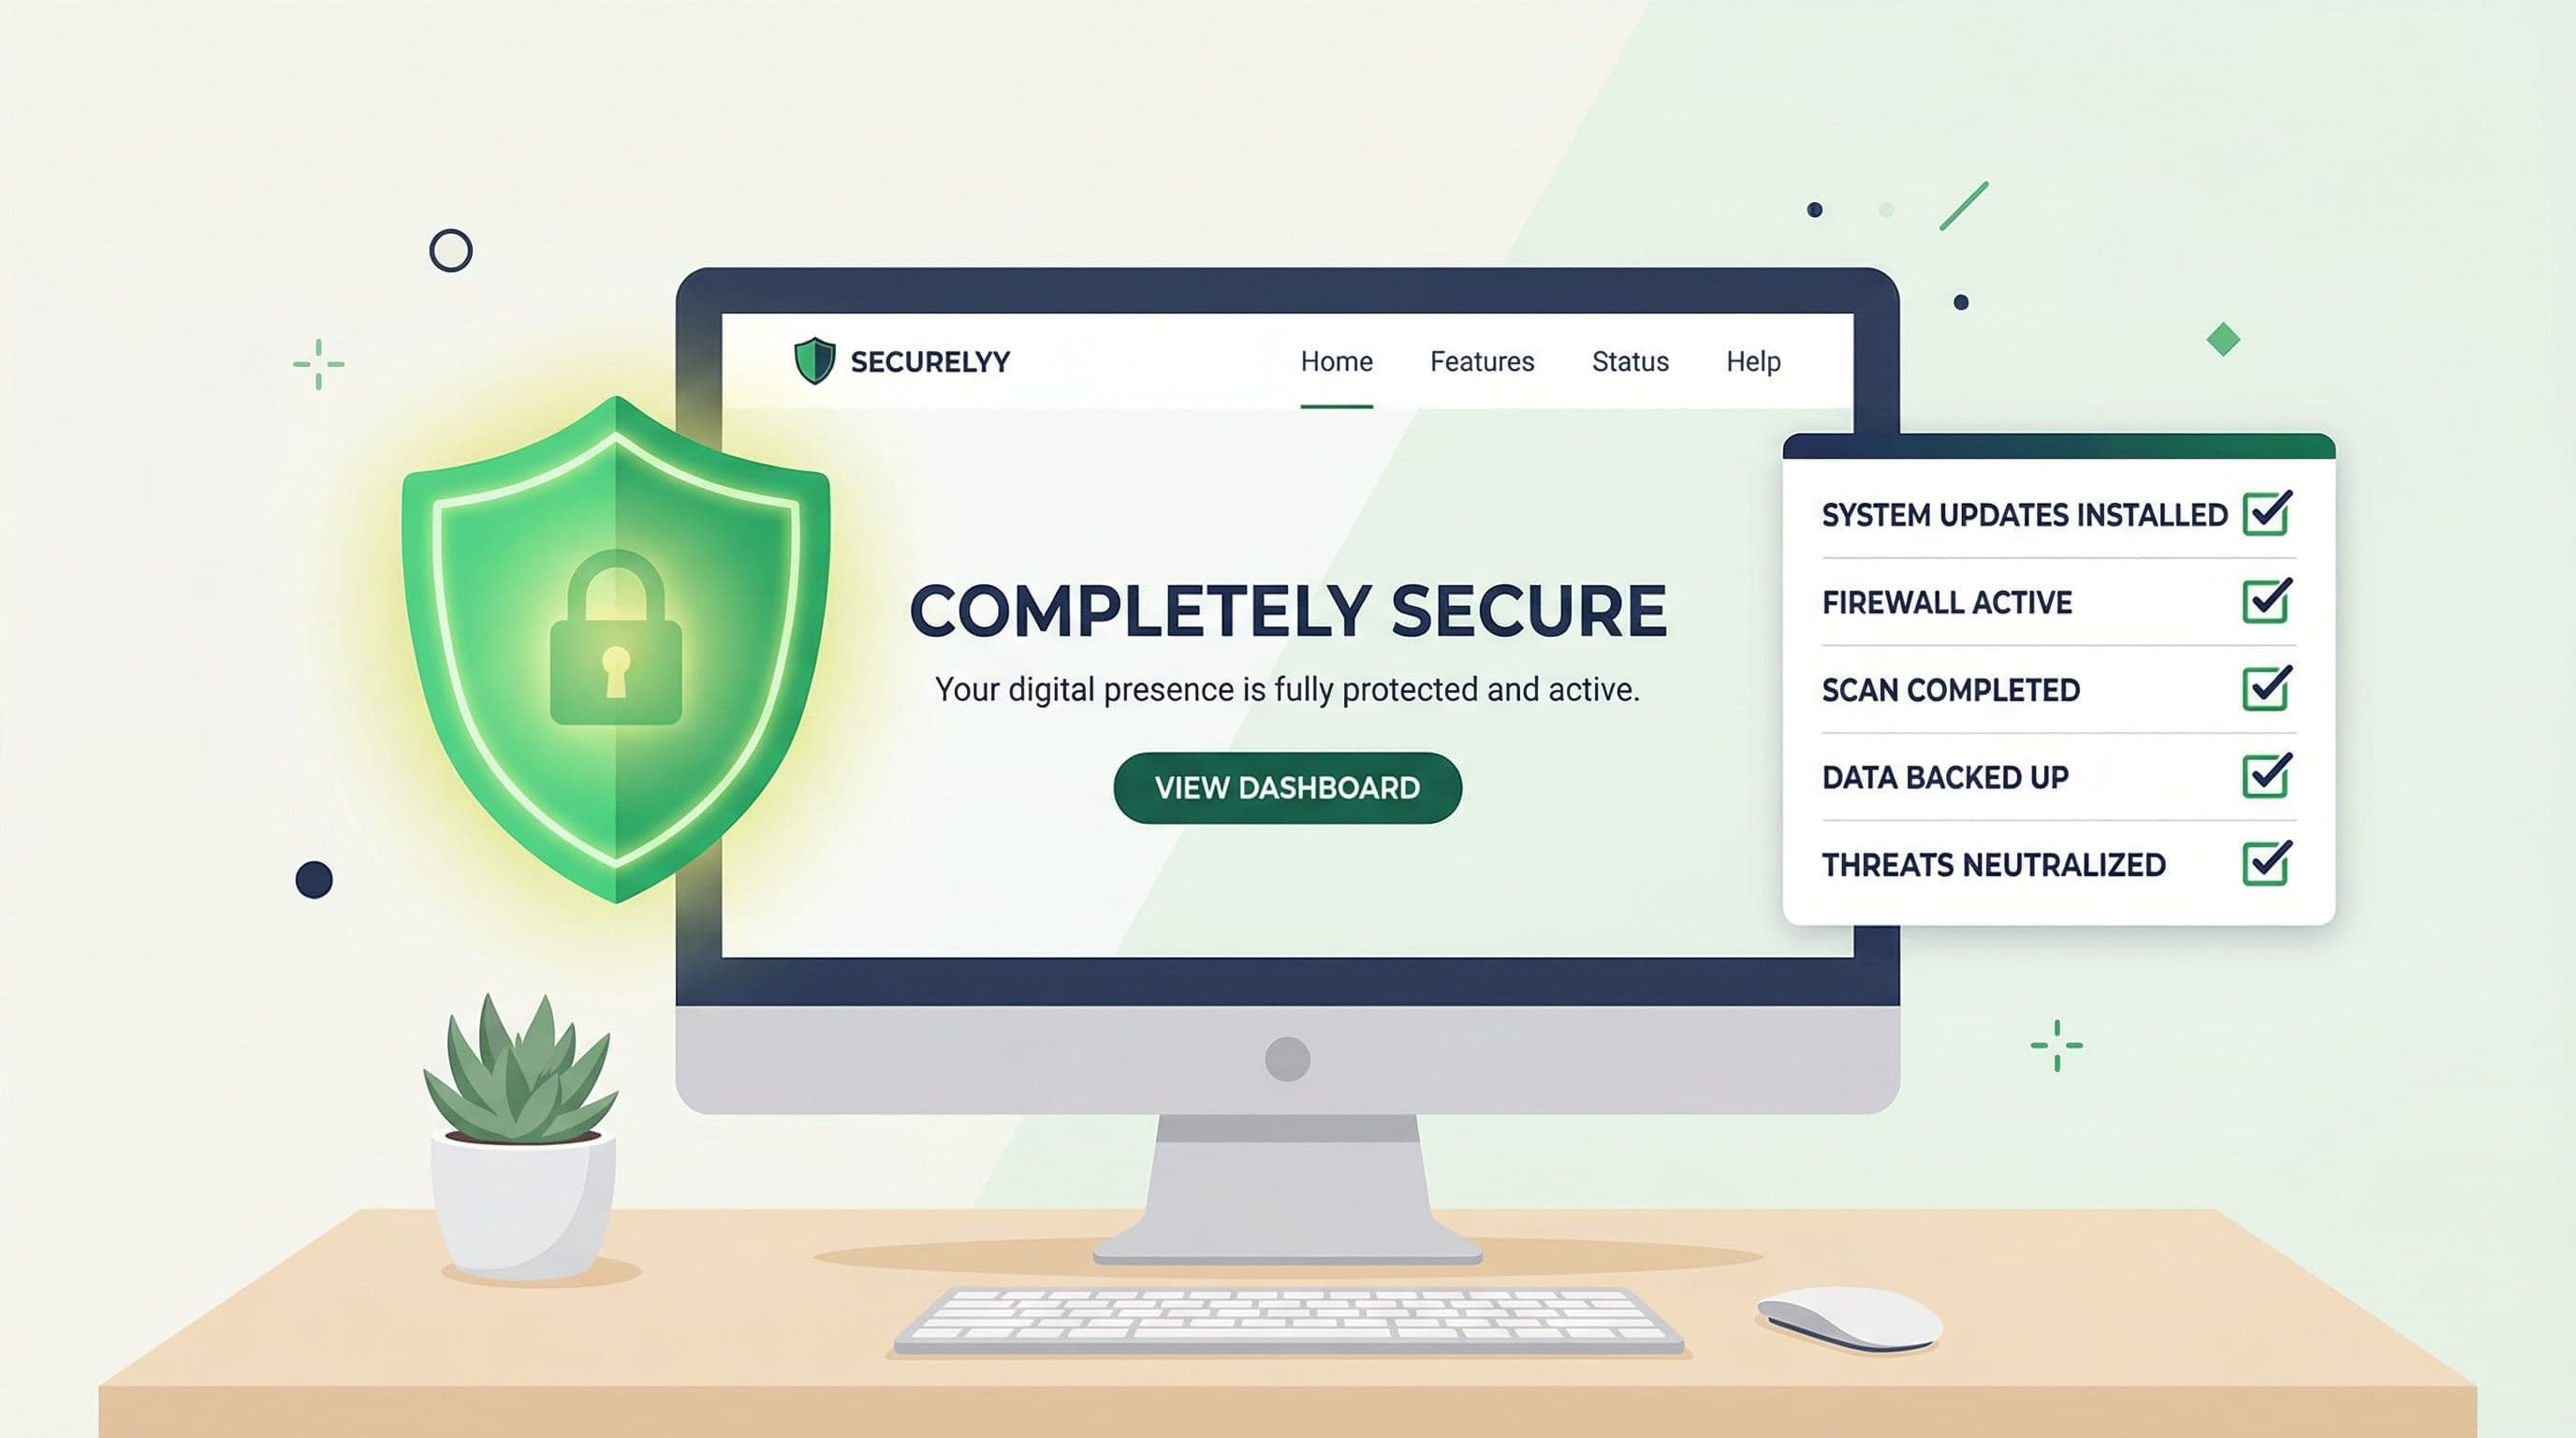
Step 10 — Harden and Relaunch
What to do: Before taking the site out of maintenance mode, implement the security configuration that should have been in place before the hack:
- Install and configure Wordfence with Extended Protection firewall mode
- Enable 2FA on all admin accounts
- Limit login attempts and change the login URL
- Set up daily automated backups with off-site storage
- Disable XML-RPC if not required
- Set up uptime monitoring
Then take the site out of maintenance mode and confirm everything is working correctly.
Pro Insight:
Run one final Wordfence scan after all cleanup steps are complete and before relaunching publicly. A clean scan result gives you confirmation that the recovery is complete, not just assumed.
Mistakes That Make a Hack Worse
Reinstalling WordPress Without Investigating First
Reinstalling the WordPress core files clears the core installation, but leaves your themes, plugins, uploads, and database completely intact — which is exactly where most infections live. A core reinstall alone cleans less than 20% of a typical infection and gives a false sense of completion.
Restoring a Backup Without Identifying the Entry Point
Restoring from a clean backup is often the fastest recovery path. But if you restore without identifying and patching the vulnerability that allowed the attack, the site gets reinfected within days through the same method. Restore first, then identify and close the entry point before going live.
Only Changing the WordPress Admin Password
Changing one password while leaving hosting credentials, FTP passwords, and database passwords unchanged means the attacker still has active access through multiple other vectors. All credentials must be changed simultaneously.
Cleaning the Site While Still on the Compromised Hosting Account
If your hosting account itself was compromised — not just the WordPress installation — cleanup within the same environment may be insufficient. Some attacks embed themselves at the server level. In severe cases, migrating to a new hosting account with a fresh installation is faster and more reliable than attempting in-place cleanup.
When to Stop DIY and Call Someone
The recovery steps above work for standard WordPress infections. There are situations where DIY recovery becomes significantly more complex and the time cost of attempting it exceeds the cost of professional help:
- The scan shows hundreds of infected files across the entire installation — full reinstall from scratch is faster
- The infection has persisted through two or more cleanup attempts — there is a hidden backdoor or server-level compromise being missed
- Your hosting provider has suspended the account and won't restore access until a professional cleanup is certified
- The database is heavily infected with injected content across thousands of posts
- You don't have a backup to restore from and the current installation is the only version of your site
In these situations, the cost of professional cleanup — typically $150 to $600 for a competent WordPress developer — is almost always less than the ongoing revenue loss from a site that stays compromised or down.
It is also worth noting: if the site that was compromised is outdated, poorly built, or on inadequate hosting, a rebuild rather than a cleanup may be the more cost-effective path. A rebuilt site on proper infrastructure with correct security from day one costs less in the long run than repeated cleanups on a fundamentally weak foundation.
How to Make Sure This Never Happens Again
Post-recovery hardening is not optional. A cleaned site on default settings returns to the same vulnerability profile that allowed the original compromise.
- Wordfence configured with Extended Protection firewall mode — not Basic, not Learning Mode
- Two-factor authentication on every admin account without exception
- Login attempt limits with immediate lockout for the 'admin' username
- Daily automated backups stored off-site — Google Drive or Dropbox — independent of the hosting account
- All plugins, themes, and WordPress core on current versions with auto-updates enabled for minor releases
- Unused plugins and themes deleted, not deactivated
- Uptime monitoring with SMS alerts for immediate notification of outages or redirects
- Quality managed hosting with server-level WAF and daily backup retention
A site running this configuration is not impenetrable — nothing is. But it is significantly harder to compromise than the average WordPress site, and any successful attack surfaces immediately rather than running undetected for weeks.
Don't Have Time to Deal With This?
If you have just been through a hack, you already know how much time and stress this process costs. And you now know that the site you had before wasn't built with the protection layer it needed.
The $449 Website Package is for service business owners who want to make a professionally built site with every security layer configured correctly from day one.
About the Author
Sheikh Hassaan — Web Developer for Small Businesses
I help businesses launch fast, secure, conversion-focused websites without the agency price tag. I've built sites for coaches, consultants, local service providers, and founders who need something professional that actually works — not a DIY project that becomes a second job.
Related Articles
- The Best WordPress Security Plugin for Small Business Websites (2026 Honest Comparison)
- How to Set Up a WordPress Security Plugin the Right Way (Step-by-Step for Non-Technical Users)
Frequently Asked Questions
How do I know if my WordPress site has been hacked?
The clearest indicators are: your site redirects to an unfamiliar website, Google Chrome shows a red warning screen, Google Search Console reports a security issue, your hosting provider suspended the account, or you notice admin accounts you did not create. Hidden infections often show no front-end symptoms — they inject spam links visible only to search engines, not to logged-in visitors. Running a Wordfence scan regularly catches these before they become visible problems.
Can I recover a hacked WordPress site myself?
Yes, for most standard infections. The recovery sequence in this guide covers what is needed for typical compromises — redirects, malware injections, backdoor files, and spam content. The process is manageable for a non-technical owner who follows each step carefully. Where DIY becomes difficult is with persistent reinfections, heavily infected databases, or server-level compromises. In those cases, professional recovery is faster and more reliable than repeated DIY attempts.
How long does WordPress hack recovery take?
A straightforward cleanup following this sequence takes 3 to 5 hours for a typical small business site. More complex infections — heavily infected databases, hundreds of modified files, or server-level access — can take significantly longer. Google blacklist removal, once you submit the review request, adds 1 to 3 business days regardless of how quickly the technical cleanup is completed.
Will restoring from backup fix a hacked WordPress site?
Restoring from a clean backup is the fastest recovery path when one is available. The critical step that most people skip: after restoring, you must identify and patch the vulnerability that allowed the original attack before going live again. If the same outdated plugin or weak credential remains, the site gets reinfected through the same entry point within days. Restore, then harden.
How much does professional WordPress hack cleanup cost?
Professional WordPress malware removal typically costs between $150 and $400 depending on the complexity of the infection. Services like Wordfence's own malware removal service and Sucuri offer cleanup packages in this range. For severe cases involving server-level compromises or heavily infected databases, costs can be higher. For some sites — particularly those that were poorly built to begin with — a full rebuild on proper infrastructure is more cost-effective than paying for cleanup on a weak foundation.
How do I prevent my WordPress site from being hacked again?
The highest-impact prevention steps are: install and correctly configure a security plugin with Extended Protection firewall mode, enable 2FA on all admin accounts, keep all plugins and themes updated, delete unused plugins rather than deactivating them, run on quality managed hosting with server-level security, and maintain daily automated backups stored off-site. No combination of measures guarantees zero risk, but this configuration eliminates the vast majority of attack vectors that affect typical small business WordPress sites.